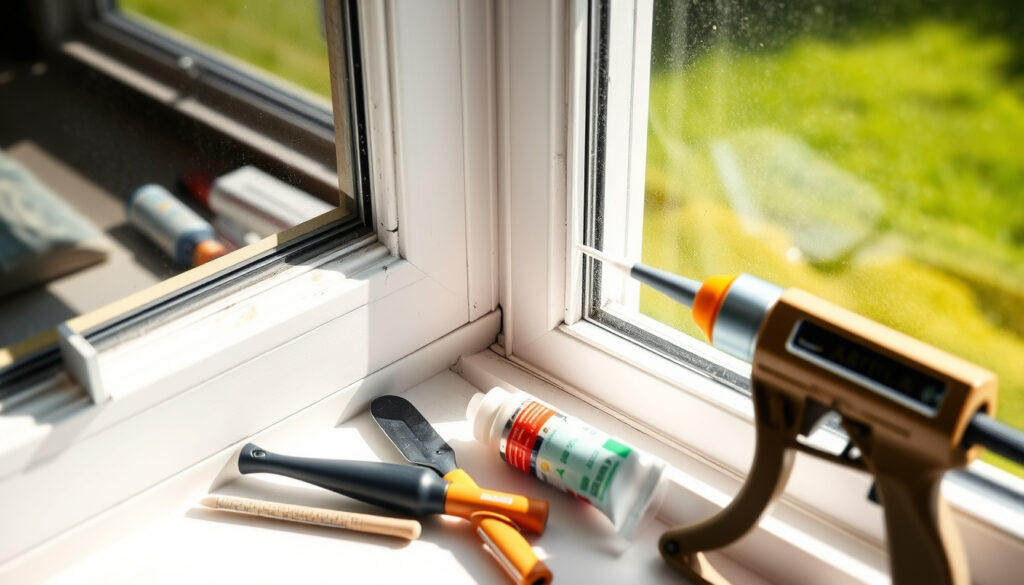
How to Reseal Windows: DIY Guide, Costs & Pro Tips
You’re not alone if you’ve felt a draft near your windows even with the thermostat cranked up — and the problem is usually not your glass. Up to 30% of your home’s heat escapes through windows, according to the U.S. Department of Energy, and a significant chunk of that comes through failed seals you can fix yourself for $3–$30.
Resealable without replacement: Yes · Common application side: Outside preferred · Curing time: 24 hours typical · Leak points: Corners · DIY sealant type: Clear silicone
Quick snapshot
- Silicone creates an effective draft seal (U.S. Department of Energy)
- Corners are the most common leak points (Buckeye State Roofing)
- Sealant costs $3–$30 for a DIY project (U.S. Department of Energy)
- Precise 2026 material cost variations by region
- Success rates for winter resealing in freezing climates
- Long-term durability data comparing sealant brands
- Ecotech Windows published detailed sealing steps in July 2025
- ENERGY STAR sealing guidance updated regularly
- Optimal resealing windows: mild-weather months (spring–early fall)
- Start with a candle test on accessible windows
- Budget $3–$30 per window for materials
- Consider professional help for multi-story or double-glazed units
Below is a summary table of the core parameters for window resealing.
| Parameter | Detail |
|---|---|
| Reseal without replacement | Possible |
| Preferred sealant | Silicone |
| Application focus | Outside edges |
| Common issue | Broken seals cause drafts |
Do my windows need resealing?
Not every draft means your seals are shot — but there are clear signs that point to failure versus just aged paint or a loose frame.
Signs of broken seals
- Condensation or fogging between double-glazed panes means the sealed unit has failed
- Visible cracks, gaps, or crumbling caulk around the window frame
- Peeling paint or water stains on the wall near the window frame
- A draft you can feel when holding your hand near the edges
Draft detection tips
The candle test works well: light a candle and move it slowly along the window frame. If the flame bends toward the glass or frame, you’ve found a leak. On cold days, run your hand along edges — cold air rushing inward is a telltale sign. According to Virginia Energy Sense (state energy office), even small gaps can account for meaningful heat loss, so inspect carefully around corners and where the frame meets the wall.
The implication: a 15-minute candle test can save you hundreds in energy costs if you catch the problem early.
Is it worth resealing windows?
The math works out favorably for most homeowners — but it depends on what you’re comparing it against.
Energy savings benefits
Sealing and weatherstripping can deliver a payback period of 1 year or less, according to the U.S. Department of Energy. Sealing and insulating provides up to 10% savings on annual energy bills, according to ENERGY STAR (federal certification program). ENERGY STAR certified windows reduce bills by an average of 12%, though that’s for full window replacement versus sealing existing ones.
Fix vs replace
If your frames are solid and the glass isn’t compromised, resealing captures most of the efficiency gains at a fraction of full-window replacement cost. Full replacement runs $300–$1,000+ per window installed; resealing materials run $3–$30. According to Buckeye State Roofing (residential roofing and window specialist), resealing is worth it when the sealant’s failure is the primary issue — not structural damage or failed glass units.
For most homeowners with intact frames, resealing pays back within a year through lower heating bills. The savings compound if you tackle multiple windows.
How much does it cost to reseal your windows?
Costs split clearly between doing it yourself and hiring a pro — and the gap is substantial.
DIY costs
A DIY caulking project costs $3–$30 per window for materials alone, according to the U.S. Department of Energy (federal energy office). You’ll need clear silicone caulk ($5–$10 per tube), a caulking gun ($5–$8), and possibly foam weatherstripping ($5–$15). According to The Eco Guide (energy savings resource), initial costs for weatherstripping and caulking run $10–$40, with a payback of 1 year or less. The exact figure varies by window size, number of windows, and whether you need weatherstripping in addition to caulk.
Professional quotes
Professional resealing varies widely by window size, material type, and location. Expect $50–$200 per window for labor, though multi-window contracts can lower per-unit cost. According to Buckeye State Roofing, pros bring leak-point expertise and warranty options that DIY can’t match — but at a premium.
Double glazed specifics
Double-glazed units require more care — the sealed glass unit itself is separate from the frame seal. If condensation appears between panes, the sealed unit may be failing, which resealing the frame won’t fix. The outside edges where the frame meets the siding are what you reseal; the interior seal around the glass unit is typically not user-serviceable.
If condensation is between the glass panes (not on the surface), you likely have a failed sealed unit, not just a frame seal issue. Resealing the frame won’t resolve that — and you’d be wasting your $3–$30.
The pattern: homeowners who correctly identify fogging between panes avoid spending $30 on caulk for a problem that requires glass unit replacement.
Can I reseal a window myself?
For most single-story homes with accessible windows, absolutely yes — the tools are basic and the technique is learnable.
Tools needed
- Caulking gun ($5–$8)
- Clear exterior-grade silicone caulk ($5–$10 per tube)
- Putty knife or scraper for removing old caulk
- Rubbing alcohol or caulk remover for cleaning
- Painter’s tape for clean lines
- Safety glasses and gloves
Safety precautions
Work from the inside when possible. For ground-floor windows, a sturdy ladder on level ground. Avoid working in wet or freezing conditions — the sealant won’t cure properly. If your windows are above ground floor, consider a pro. According to Buckeye State Roofing, the key is removing all old caulk completely before applying new material — any residue compromises the bond.
DIY saves $50–$200 per window in labor costs, but requires patience and basic skills. If you’re comfortable with a caulking gun and don’t mind a 24-hour cure wait, the savings are worth it for accessible windows.
The implication: ground-floor homeowners with basic handyman skills can realistically tackle this project without calling a pro. Ground-floor homeowners with basic handyman skills can realistically tackle this project without calling a pro, as detailed in this guide on how to reseal your windows for better insulation: Fenster zum Hof.
How to Reseal Windows (Without Replacing Them)
Here’s the step-by-step process professional glaziers recommend, adapted for DIY. The sequence matters — don’t skip the prep work.
Step-by-step process
- Inspect: Run the candle test or hold your hand along all edges. Mark leaking spots with painter’s tape.
- Remove old sealant: Use a putty knife or caulk remover tool. Apply steady pressure to avoid damaging the frame. Remove all old material — any remaining caulk reduces bond strength.
- Clean the surface: Wipe the gap with rubbing alcohol. Let it dry completely. No dust, no moisture, no old caulk residue.
- Apply new sealant: Cut the caulk tube tip at a 45-degree angle. Apply steady pressure, filling the gap completely. Work in continuous beads — don’t stop and restart mid-seam.
- Smooth the bead: Use a wet finger or a smoothing tool. This pushes sealant into the gap and creates a clean water-shedding profile.
- Let cure: Allow 24 hours minimum before exposing to weather or testing. Cold or humid conditions may extend this to 48 hours.
- Test: Run the candle test again once cured. Re-apply if you find any remaining leaks.
Inside vs outside
Outside is preferred because that’s where the gap between frame and siding lets cold air in. However, Virginia Energy Sense notes that interior weatherstripping on movable parts (where the sash meets the frame) complements exterior caulking for a complete seal. Focus on the exterior first, then add weatherstripping to the movable frame if drafts persist.
Winter considerations
Can you reseal windows in winter? Technically yes, but conditions matter. Temperatures below 40°F slow silicone cure times significantly — some products require above 50°F. In Minnesota’s climate, where north-facing walls see extra cold exposure, SCG Minnesota recommends scheduling resealing for spring through early fall when temperatures are consistent. If you have an urgent leak, a pro can use cold-weather-grade products, but DIY success rates drop in freezing conditions.
Upsides
- Saves $50–$200 per window in labor
- $3–$30 in materials per window
- Payback within 1 year via energy savings
- Reduces drafts and improves comfort
- Prevents moisture damage to frames
Downsides
- Requires patience (24-hour cure time)
- Difficult for upper-floor windows
- Won’t fix failed sealed glass units
- Double-glazed windows need extra care
- Winter DIY success rates reportedly lower
Homeowners who recognize that double-glazed units with interior condensation need glass unit replacement — not frame resealing — avoid wasting money on the wrong repair approach.
For the typical homeowner, the choice is straightforward: tackle accessible ground-floor windows yourself this spring, and budget for a pro quote on any hard-to-reach or complex units. Those who wait until summer for resealing jobs give themselves a wider window of reliable cure conditions and fewer callbacks.
“As much as 30% of your home’s heat can escape through windows.”
“Sealing air leaks around your home and adding insulation can provide up to a 10% savings on your annual energy bills.”
Related reading: How to stop overthinking · TOTO Match how to play
youtube.com, thisoldhouse.com, schaafwindow.com, entergy.com, energystar.gov
Frequently asked questions
Can home windows be resealed?
Yes, in most cases — as long as the frame is solid and the glass itself isn’t cracked or fogged between panes (which indicates a failed sealed unit). Resealing addresses gaps in the frame seal, not a failed glass seal.
What is the average cost to reseal a window?
DIY runs $3–$30 per window for materials (caulk, weatherstripping). Professional resealing varies more widely — expect $50–$200 per window for labor, depending on size, accessibility, and location.
How to reseal windows and doors?
The process is identical for windows and doors: inspect for drafts, remove old sealant, clean the surface, apply exterior-grade silicone caulk to the gap between the frame and wall, smooth the bead, and let cure 24 hours. Doors may have more movable parts needing weatherstripping.
Can you reseal windows in winter?
Technically yes, but it’s harder. Most silicone sealants need temperatures above 40–50°F to cure properly. Cold-weather-grade products exist, but DIY success rates drop in freezing conditions. Spring through early fall is ideal.
How to install rubber seal on window?
Rubber weatherstripping seals the movable part of the window (where sash meets frame), complementing the exterior caulk seal. Clean the channel, cut the rubber strip to length, peel the adhesive backing, and press firmly into place. Replace when compressed or brittle.
Do you reseal windows from the inside or outside?
Outside is preferred — that’s where the gap between the window frame and wall siding lets cold air infiltrate. Interior weatherstripping on movable parts adds a second line of defense, but start with the exterior.
How much does it cost to have your windows resealed?
Professional resealing typically runs $50–$200 per window for labor, varying by size, type, and accessibility. Multi-window contracts often reduce the per-unit cost. The premium covers expertise and warranty coverage that DIY doesn’t provide.
More related posts
 Paya Lebar Sivan Temple – Visitor Guide and History
 Lucy Shimmers and the Prince of Peace: Ending & Plot Explained
 Best Crema Catalana Near Me in Barcelona: Top Spots
 1 SGD to PHP: Exchange Rate Today and Why It Matters
 Soldier Poet King Quiz: Meaning, Song Story & TikTok Trend
 St. Patrick’s Day: Origins, Traditions, and Global Celebrations
 Multi Storey Car Park – Design Benefits Safety Explained
 Half Boiled Egg Timing: 6 vs 7 Minutes for Perfect Eggs
